

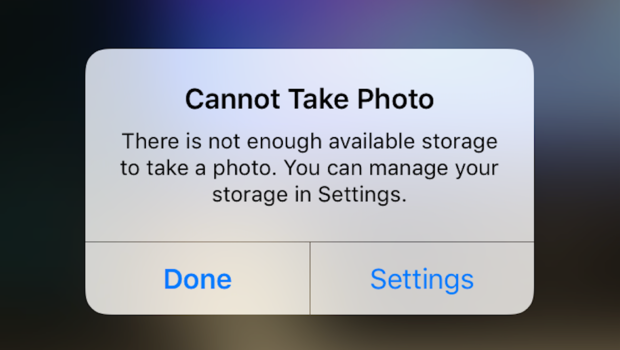
If you were like me you didn’t want to spend the extra $100 to get the iPhone with extra space thinking, “Oh I don’t keep a lot of stuff on my phone, I will be just fine.” Now, you keep seeing the awful message pop up telling you your “iPhone storage is almost full”. I have compiled a few tips to help you clear some much needed space from your iPhone or iPad.
1. Apps // Delete app data
The first thing you want to do is to see where all your space is being taken up. iOS has a nifty feature that gives a pretty detailed overview of you storage space. To see this go to Settings>General>Storage and iCloud Usage and tap on iPhone Storage. Once this screen populates it will show you how much data each app is using. From here you can decide what you need to focus on to help clear space on your iPhone device. If your Notes app is saying there is hundreds of MBs being take up then it may be time to go through and purge your Notes. If you have a video player app that has hundreds of MBs or even GBs there may be video in that app that can be deleted. Or even if there is an app you haven’t used in months or years you could straight up just remove the app from your phone.
2. Update // Install that update
When Apple releases a new update they try to make it as easy for you as possible. One of the things they do is automatically download the update to your device so that when you are ready to install it it is already there for you and you don’t have to wait for it to download to install. This can be convenient but sometimes updates are fairly large in size. It is best to run the update and install it, that will then remove the installer from your device. If you are hesitant about updating it you can delete the installer from your device by going to the iPhone storage menu in Settings>General>Storage and iCloud Usage. From here you should be able to see the installer and remove it.
3. iMessages // Stop keeping all your messages forever
If you have never changed this setting it is automatically set to keep all your message and attachments forever. And if you are like most people you send and receive a decent amount of attachments, whether they are pictures, videos or even stickers. Keeping all these is fine on your computer with all the free space it has but with the limited space your iPhone has it can be a huge drain. **Before you enable this setting be sure to go through all your picture attachments and save any you want to keep.** To enable this setting to automatically delete older messages and attachments simply go to Settings>Messages and scroll down till you see ‘Message History: Keep Messages’ . Simply tap this and select whether you would like to keep for 30 Days or 1 Year. When you select something shorted than “Forever” a pop-up will appear asking if it is OK to delete older messages. Assuming you have saved everything you want to keep simply select “Yes” and it will delete anything older than the time period you selected.
4. Photos // Empty the trash
Similar to a computer, when you delete photos they don’t disappear completely. They go in to a special folder where they sit for 30 days, that way if you accidentally delete something it isn't lost immediately. Handy, but this can take up space you thought you were freeing. Simply go to Photos>Albums and scroll down until you see ‘Recently Deleted’ and tap it. Then tap ‘Select’ at the top then at the bottom tap ‘Delete All’ and confirm. This will immediately purge all deleted photos from the ‘Recently Deleted’ folder.
5. Safari // Clear the cache
This tip is doubly useful in that it can help if you accidentally clicked a nefarious link and your Safari app is locked up with an e-mail pop-up or ad pop-up. **Keep in mind this will also delete your browsing history from all devices signed in to iCloud, including your computer.** To clear this data go to Settings>Safari and scroll down until you see ‘Clear History and Website Data’. Tap this and then confirm to clear this data.
6. Photos // Don’t save duplicate photos
By default your iPhone has two things enabled: HDR and Keep Normal Photo. HDR is an amazing feature where (in the right conditions) your iPhone will actually take 3 photos and combine them to highlight as much light and dark detail as possible. But, by default your phone will also take and keep the non-HDR photo at the same time. To turn this off simply go to Settings>Photos and Camera and turn off ‘Keep Normal Photo’. *Side Note: If you have an iPhone 7 Plus there is similar setting to turn off for portrait mode.
7. Music // Remove downloaded music
If you have music synced up to your iPhone you don’t have to hook your phone back up to clear music you don’t need anymore. And sometimes in order to play certain songs your iPhone will automatically download them to your iPhone. To check and clear these songs simply go to Settings>Music and scroll down to ‘Downloads’. Tap this and you can then swipe to delete any songs you want to clear off your iPhone. **Other music service apps have the ability to download music for offline listening, be sure to check any other music apps you might have such as Spotify or Amazon Music.
8. Photos // Turn off Photo Stream
Another photos tip! If you’re like most people you aren't even aware of what Photo Stream is or does. Not a big deal but it is on by default and even tho they don’t take up as much space the photos in your Photo Stream are still there take space. To turn this feature off simply go to Settings>Photos and turn off ‘Upload to My Photo Stream’. The photo stream photos will then be removed from your iPhone but if you decide to turn this feature back on the photos will stay saved on iCloud for 30 days from when they were uploaded.
9. Safari // Purge your reading list
Even if you are not familiar with what Reading List is, I would still check this feature. There have been times when even I have accidentally added something to my Reading List. This feature has it’s uses, it saves a website to be available to read later even if you have no internet connection. To clear Reading List pages go to the Safari app and tap the book button at the bottom then tap the glasses icon. You can swipe to delete any pages in the list. **Note: This will delete the pages from all your devices Reading List.
10. Podcasts // Delete downloaded podcasts
I like to listen to podcasts but I don’t need them taking up my precious iPhone storage space. If you want to turn off automatic downloads of Podcasts you listen to just to to Settings>Podcasts and scroll down to ‘Download Episodes’. Tap this and then set to ‘Off’, this will prevent future episodes from being downloaded to your device. Now, to purge any that have previously been downloaded go to Settings>General>Storage and iCloud Usage. Under iPhone storage scroll down to Podcasts and tap it. From here you can swipe to delete any needed podcast episodes.